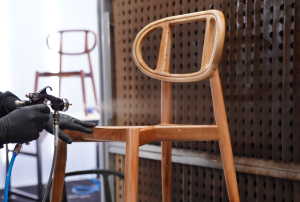
Painting professionally has a direct impact on the quality of the finish and reduces rework!
1 – BASE FINISH
A good paint finish is directly related to the quality of the base coat.
Ensure the surface is properly sanded, cleaned, degreased, and dust-free before painting.
2 – SANDING QUALITY
Sanding is another important step for achieving the desired finish.
Always respect the 50% rule!
In the sanding sequence, a sandpaper cannot have a grit greater than 50% than the previous one. For example: If the first sandpaper is Gr80, the next one must be 50% more than it, that is (80:2=40 + 80= 120) in sequence from grit 80 the next would be 120 and so on.
3 – PAINT BOOTH
A clean environment free of impurities is essential for a quality paint finish. Have a paint booth suitable for your process/demand and, if possible, distant from or isolated from the area where the sanding process is carried out. This prevents contamination of the newly painted piece. Never perform the preparation process inside the area where the piece will be painted, because when the exhaust is turned on, the dust present in the environment will become suspended, contaminating the piece.
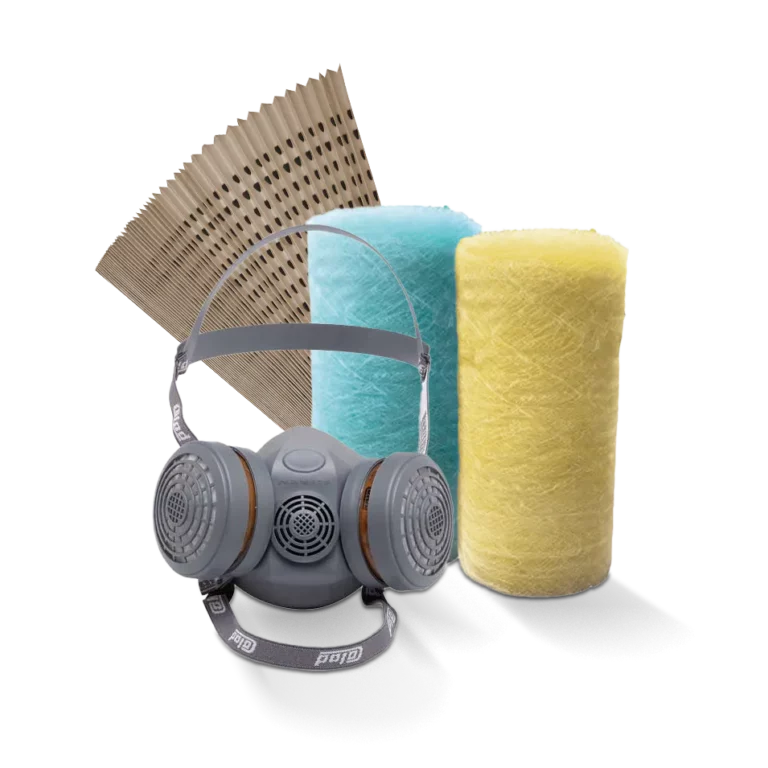
4 – PPEs
Personal protective equipment, in addition to ensuring the painter's safety, also influences the quality of the paint finish. The coverall must be made of a fabric that does not carry particles of impurities that could fall onto the garment and require rework.
5 – MIXING THE PAINT
Respect the paint's technical data sheet to mix the correct quantities and dilute perfectly. Do not use cleaning solvent to dilute the paint, as this contaminates the paint and ruins the texture and gloss. Use the thinner recommended by the paint manufacturer, check the viscosity with a Ford cup #4 (viscometer) + stopwatch, and keep your mixing beaker or cup always clean and dry to avoid contamination from residue.
6 – Compressed Air
Your compressor needs to be correctly sized for the type of spray gun you use, and ensure that the compressed air is free of oil and water. Use a filter regulator before the spray gun to prevent contamination. To configure the compressor, check the air consumption of your spray gun in liters of air per minute and consult the supplier to verify if your compressor is suitable.
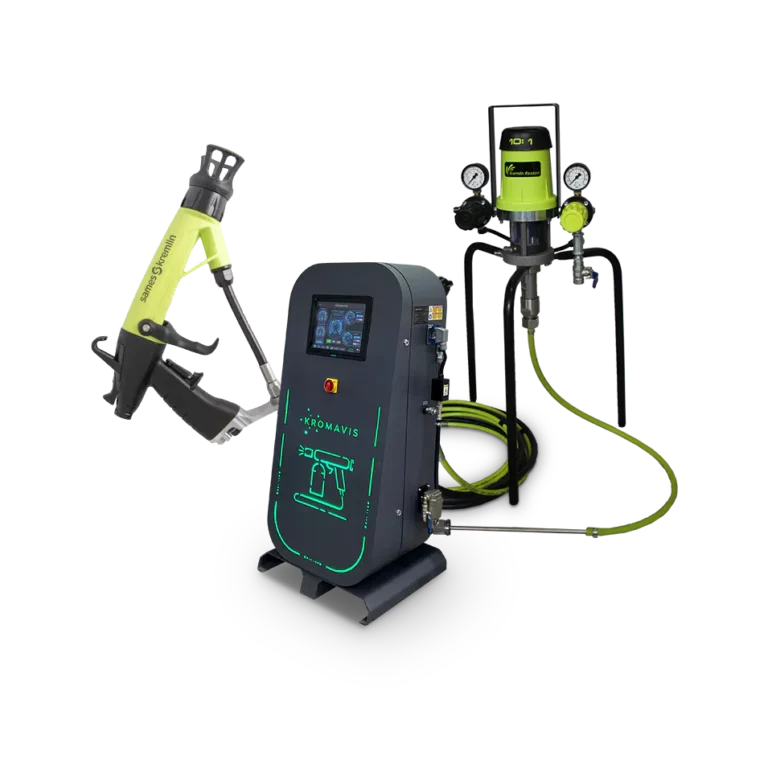
7 – PAINT GUN
There is a suitable type of equipment for each application; the right tool for the right job is fundamental for a more professional paint job. Spray guns atomize differently than touch-up guns. If you are painting an entire piece, opt for an HVLP or LVLP spray gun. Touch-up guns spray more finely, allowing for greater control of the layer in already painted areas.
8 – PISTOL ADJUSTMENT
Follow the manufacturer's recommended working pressure. Close all adjustments and begin by adjusting the air for spraying, then slowly increase the paint pressure until you achieve a satisfactory spray. Use a test piece or a disposable part to check the spray.
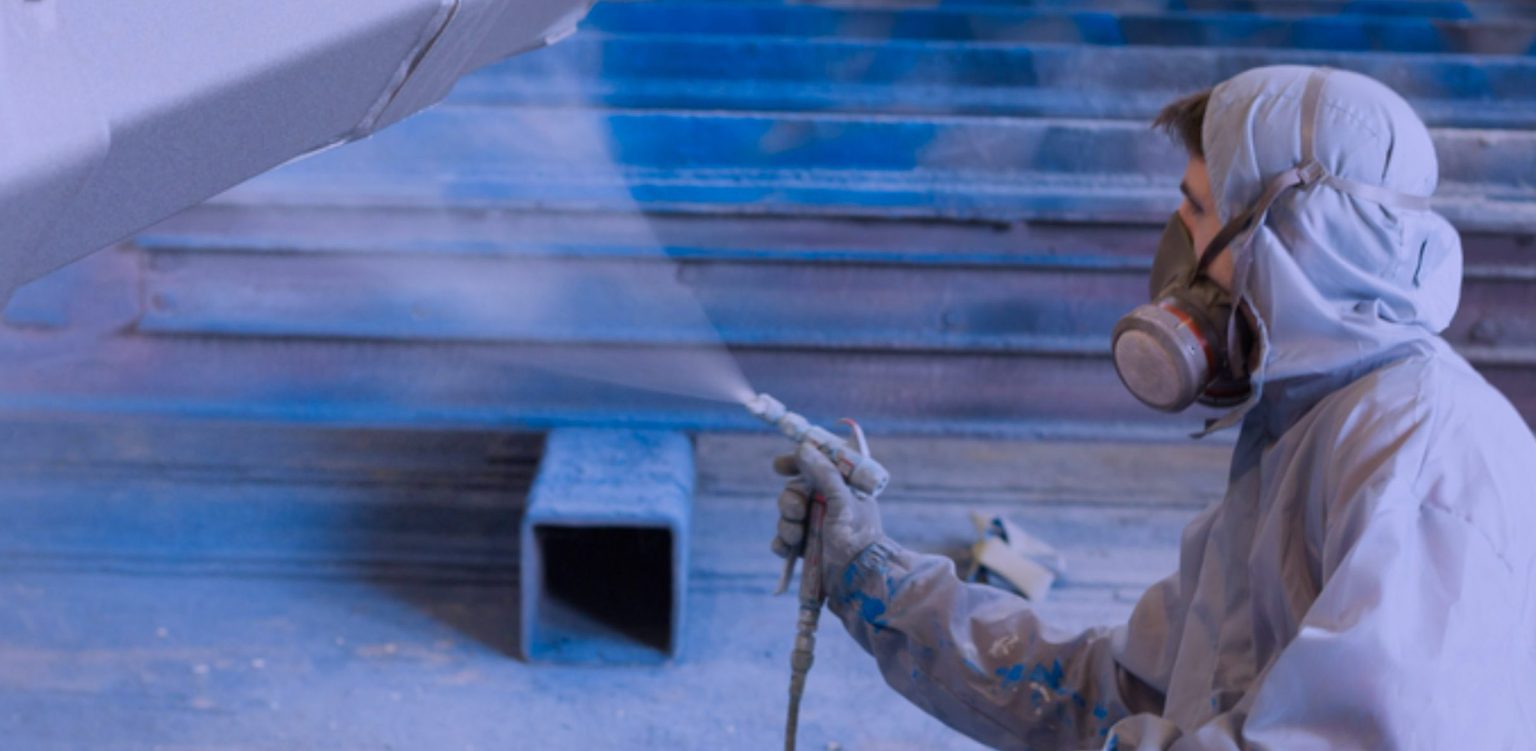
9 – PERFECT SPRAYING
Perfect spraying is achieved by balancing paint flow rate, spray pressure, and application distance from the workpiece.
Tip: When applying PU paint, use 30 PSI of pressure, 2 turns of the nozzle thread (this may vary depending on the viscosity), and spray 25cm from the surface. This will ensure a homogeneous finish. Paint defects such as 'Orange Peel' (excess paint and insufficient air) or 'fogging' (excess air and insufficient paint) are common defects caused by poor adjustment.
10 – APPLICATION DISTANCE
A distance of at least 25cm should be maintained with an overlapping layer of 50%, pass the spray gun once and then... Overlap the layers of the first coat (50%) one on top of the other. This will prevent flaws in the paint film.
Content produced by Arply's Process Manager, Flávio Farage.
Contact: flavio@arply.com.br