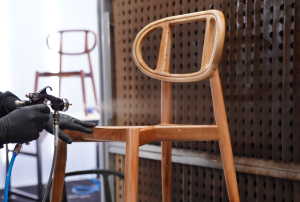
For those who want to start working with automotive painting, the most practical solution for a better finish is to use a paint gun (or revolver). At first, this may seem like a difficult piece of equipment to handle, but in fact, paint guns are easy to use and allow for a variety of painting options, from large surfaces to small areas with fine finishes. However, for the result to be satisfactory, it is essential to make good adjustments. Learn now how to adjust an automotive paint gun.
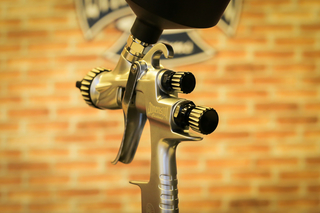
But before we understand how to regulate a gravity spray gun, it is important to know the components that make them up, and what their role is in perfect adjustment.
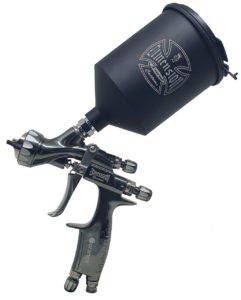
Nozzle: The nozzle can vary in size and number of holes, and is one of the most important parts of the spray gun. Depending on the job to be done, the painter will define the number of nozzles that will be used and, consequently, the size of the surface covered with each pass. Therefore, it is extremely important to keep them clean and ready for use.
Mug: An item that is not found in all models, the cup is a small paint reservoir that is attached to the body of the gun.
Pressure gauge: Another item that is not found in all models, the pressure gauge is used to measure the pressure used in the gun, an extremely important factor in adjustment.
Body: The central part of the gun and where the other components are connected. It is through this part that the air and paint pass before reaching the nozzle.
Kitten: Part through which the painter will activate the gun. When activated lightly, the gun will only fire air, when fully activated the paint will come out, so it is an essential element in the adjustment.
Valves: These are parts that allow the gun to be adjusted. The fluid (flow), fan and air valves are responsible for regulating the amount of paint and the size of the surface covered with each pass.
How to adjust a paint gun
There is no standard method for how the adjustment should be made, but it is necessary to understand how the components work so that the gun is configured to produce the best possible finish. Taking into account the size of the material and the surface to be painted, the adjustment is made through three valves.
Air pressure valve:
The first step in pressure regulation is to open the entire air valve. After this first step, you need to check, using the pressure gauge, whether the pressure passing through the gun is within those indicated by the manufacturer. If not, close the valve until it displays a number within the recommendations.
Flow valve (fluid):
This valve allows you to adjust the amount of paint that will be released. Adjusting it is very simple. Open the fluid valve as far as possible. Then pull the trigger until you feel resistance, then close the valve completely. This will cause the total volume of fluid to come out of the gun. To reduce this volume, simply open the valve little by little.
Fan valve:
The opening of the fan valve will indicate how much surface area will be filled. The more closed it is, the more paint will reach the point; the more open it is, the larger the area will be. For a painting that does not drip, the shot should be taken from a distance of about 15 centimeters and the paint should form a long, oval shape, ensuring that the paint is evenly distributed. If this is not the case, the gun may not be properly adjusted, meaning that new adjustments will need to be made.
It is important to do some tests and prepare the gun before work, adapting it to the configuration that best suits your combination of speed in the stroke and the material that will receive the paint.
Problems with the paint gun
If your tests show uneven painting, with the edges having more paint than the middle, some problems can be easily solved.
The first tip is to check the cleanliness of the gun nozzle. If one of them is closed, the uniformity of the spray will be irregular, forming shapes that are different from the expected oval. Therefore, it is essential to keep all parts of the gun clean, especially the nozzles.
The second reason is a pressure that is different from that recommended by the manufacturers. Incorrect pressure can lead to deformations and, consequently, to drips due to a high concentration of paint in some spots.
Therefore, before you start using the gun, always check the manufacturer's instruction manual and, based on it, start making the necessary adjustments so that your gun is suited to your work and painting technique.
For more painting and vacuuming tips, visit our blog and discover our exclusive content.